

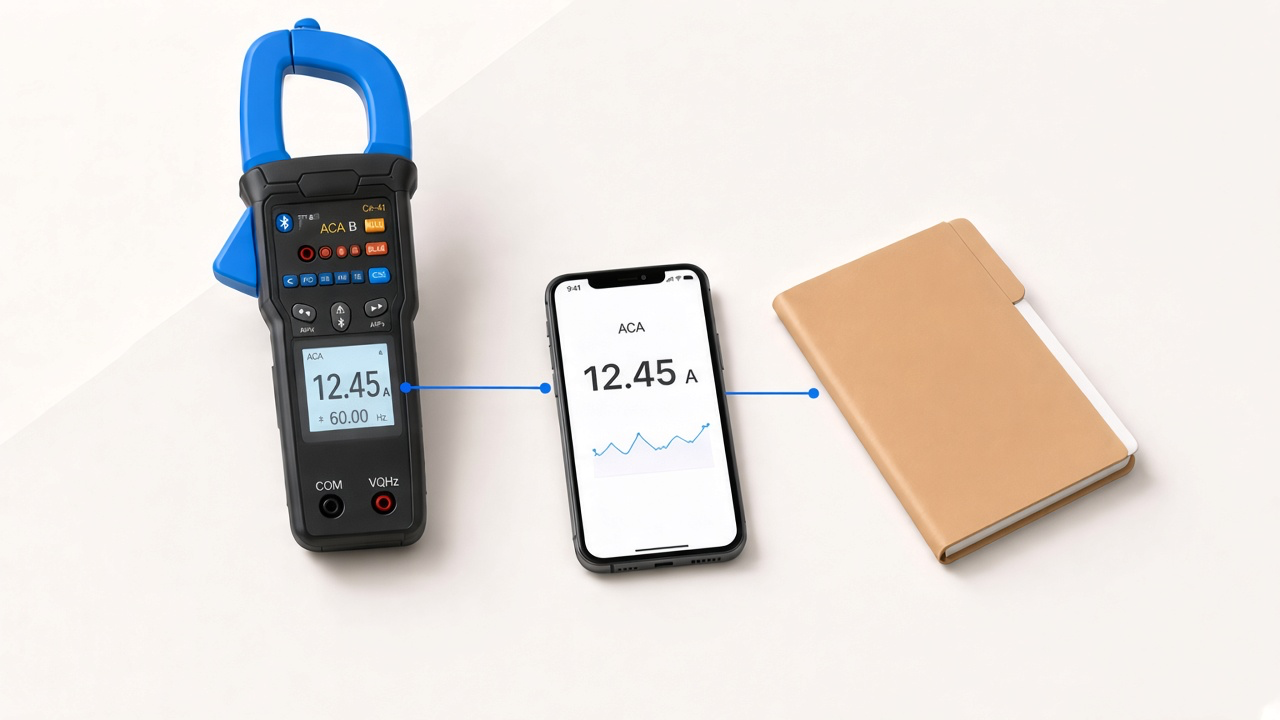
Get started with your Minipa instrument
Published September 16, 20269 min read
Pairing a Minipa instrument is in the Minipa Link app. The web dashboard cannot scan Bluetooth.
Download the app, create your account (the app opens the browser for that), sign in, tap Link, press the Bluetooth button on the meter, connect, capture, then put the measurement on a project.
Install the app and create an account
Install Minipa Link from the App Store or Google Play. Open the app. If you do not have an account yet, tap Switch to sign up.
Signup finishes on the web, not in the app. Tap Continue — the browser opens. Create the account, then return to the app and Login. The first sign-in needs internet, with location on.
Open Link and wake the instrument
Bluetooth pairing is only in the app — the web dashboard cannot scan. On Dashboard, tap the Link tile.
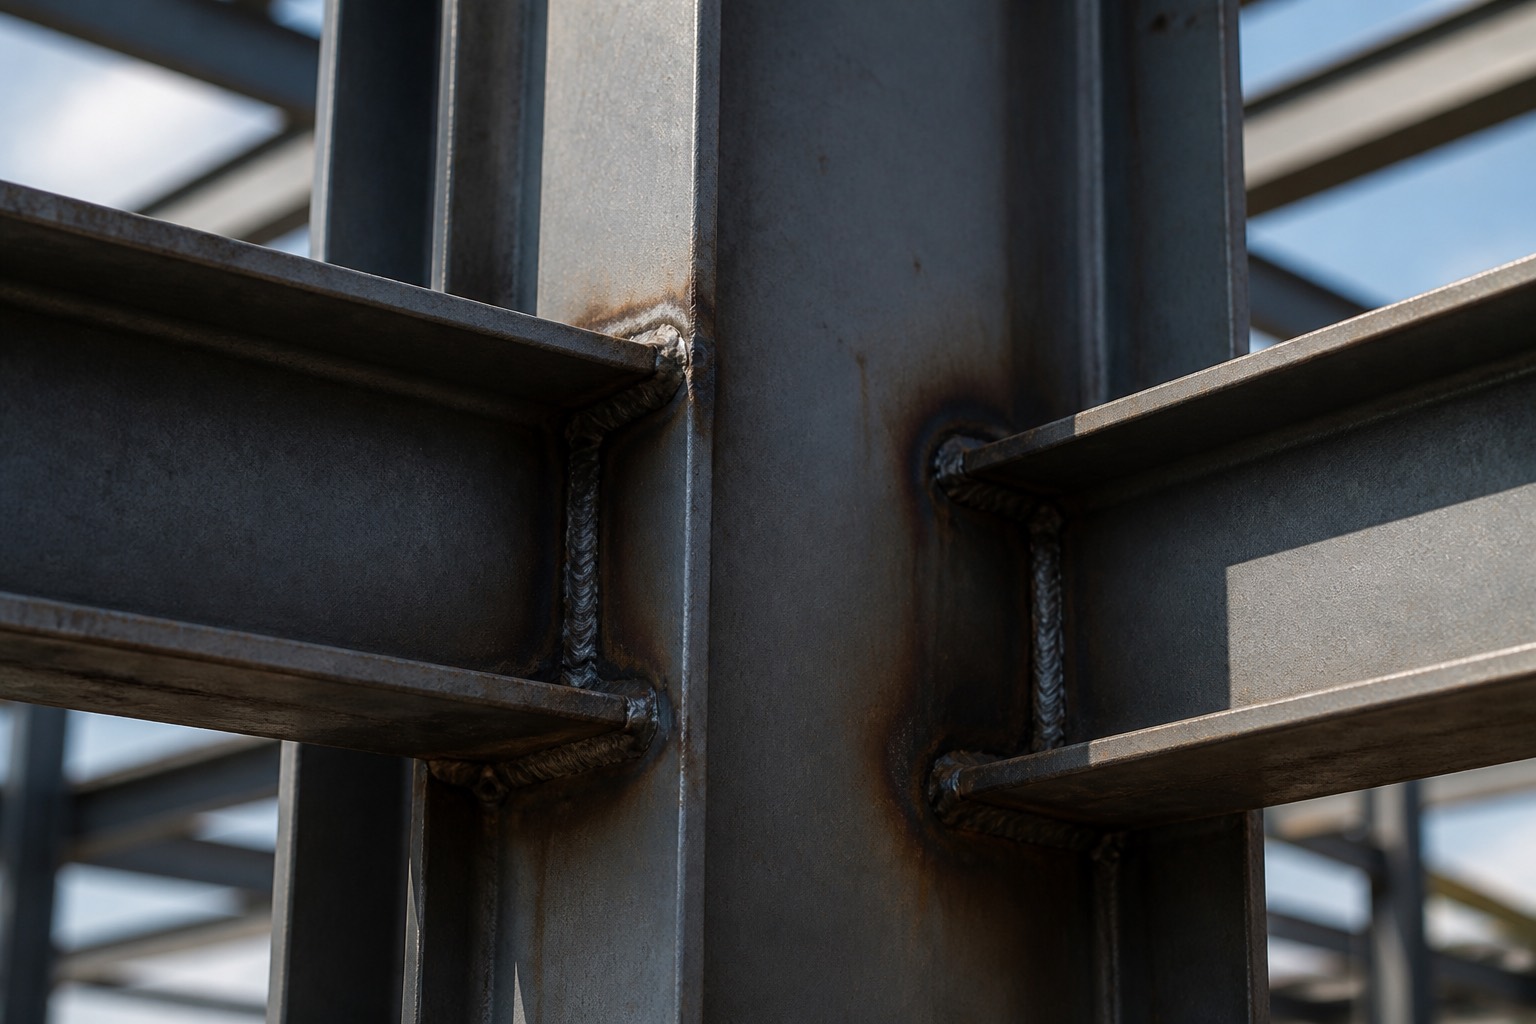
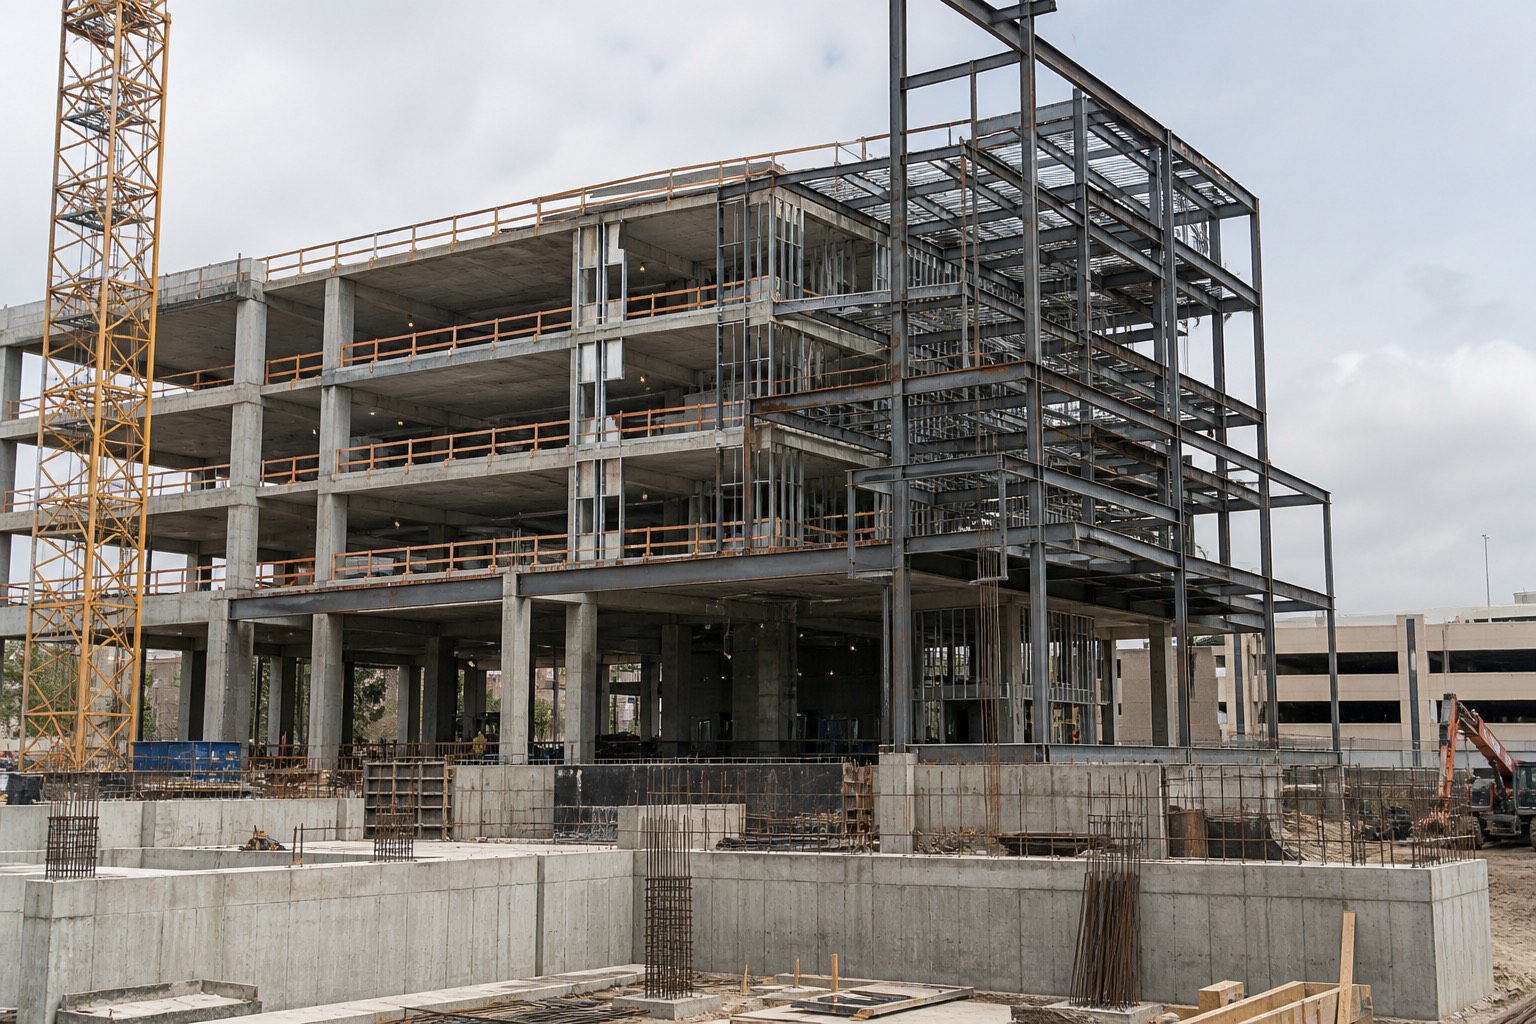
The first scan needs Bluetooth and location. If you see Permissions required, tap Retry and allow both when the phone asks.
Turn the meter on. The Link tab tells you to Press the Bluetooth button on your device. Press it — on some models, hold until the Bluetooth indicator lights.
Keep the instrument close. Tap Scan.
Scan and connect
The app shows Scanning… while it looks for nearby devices. Leave the Link tab open.
When it appears under Available devices:, tap your Minipa instrument — for example ET-3105BT. A row marked Device not recognized will not stream live readings.
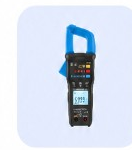
Status moves to Connecting. Wait until it finishes.
When status is Connected, tap the device to open Live measurement.
Control the meter and capture
Readings stream on Live measurement. Tap the floating controls button to send commands to a supported Minipa meter.
On an ET-3105BT, the keys are A ~ LPF, V, Ω/ºC, INRUSH, RANGE, and HOLD. Other supported models show their own keys. Tap a key to change function, range, or hold from the phone.
Tap Capture to save one reading. Switch Mode to Continuous and tap Start recording for a stream. Optionally turn on Comparison for a live Pass or Fail.
Put the measurement on a project
A project is the job. On Dashboard, tap +.
Tap Create project.
Enter a Name, then tap Create. You can skip the site pin if you do not have an address yet.
Open the project and tap Organize. If you started the measurement from a project, work order, or asset, the link is already there — skip the steps below.
Organize lists work orders, assets, and measurements. Under Linked measurements, tap + to link the capture to the project.
Select the measurement, then tap Confirm. On the web, the project sidebar Measurements uses Link — you cannot capture a reading there.
Link the measurement to the asset
Optional, but it keeps the job tidy. On the project, open Organize, tap + on Linked assets, then Create.
Enter an Asset name. Attach a photo under Media, then tap Create asset.
After create, you land on the asset page. The photo is already there. Tap Organize to link the measurement.
Under Linked measurements, tap + to put this capture on that equipment.
Select the measurement, then tap Confirm. The reading now sits on the asset, not only on the project.
Tips
- Only supported Minipa models stream readings. Check the product documentation if a device does not appear.
- If scan fails, see Fix Bluetooth connection problems.
- Capture modes in more detail: Record a measurement.
- Linking later: Keep measurements on a project.
- The pairing screens: Pair a Minipa instrument via Bluetooth.
- Assets and photos: Attach assets to a project, Capture photos and videos on a job.
Create your account and take the next reading on the job. See pricing when the whole crew should share the same instruments and projects.
Ready for the next job?
Create your account and keep the trail on the project.